


So as you can see, I decided to opt for a very different project for today. Why? Because I wanted a practical solution for the missing pens in this house. I mean I don't mind a missing pen. As for every pen I loose I probably find one somewhere else. But ... I want pens to be where I need them when I need them! Do you get my frustration? Hence the paper bouquet of pens I created for today's hop.

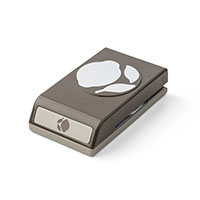
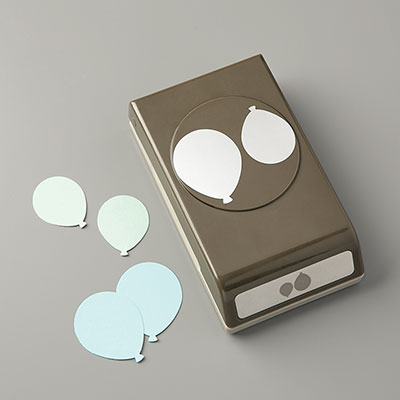
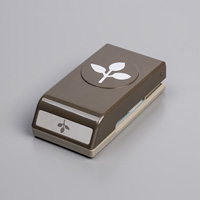
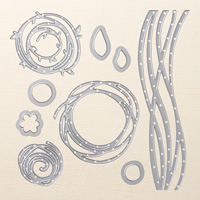
There is no way that anyone is going to run off with this floral pen in their pocket! Including myself! Are you curious as to how I created these pens? Well I first wrapped some plain old BiC pens in floral tape to make the stems green. The floral tape matched up pretty well with the Stampin' Up! Shaded Spruce Cardstock! That truthfully made me smile! I then put my hot glue gun to use! I created the first two layers of blooms you see here using the Stampin' Up! Lemon Builder Punch. If you can imagine four punched lemons attached at the base, that is how this flower started. I then layered four more lemons over top in the opposite direction. The next layer consists of four of the smaller punched balloons from the Balloon Bouquet Punch. Again they are attached at the centre with my hot glue gun. Lastly, I created the centre of the flower with the Leaf Punch. I punched five coordinating stems and layered them over the balloons. Of course I curled each of the blossoms with my Bone Folder. This gave them that floral look. The small flower die from the Swirly Scribbles Thinlits Dies, and the tiny circle from the Cookie Cutter Builder Punch added the perfect touch for the centre of the flowers.
I hope that my explanation makes complete sense. If not, feel free to leave your questions below. This project was really quite simple in the end. My seven year old daughter actually made her own bouquet of pens as well! We will never run out now! On that note, I hope that you enjoyed today's project. Up next is the amazingly talented Brian King! I can't wait to see what he has to share with us today!

Blog Hop Line Up
Louise Sharp
Janneke de Jong
Jenny Hall
Tanja Kolar
Monica Gale
Maike Beimler
Carolynn Sander (You Are Here)
Brian King
Thank you so much for visiting today! If you have any questions in regards to today's project feel free to contact me! As well, if you are in Canada and you are interested in purchasing Stampin' Up! products, I would love to have you visit my Stampin' Up! online shop! Just click on the shop button below if you wish! Louise Sharp
Janneke de Jong
Jenny Hall
Tanja Kolar
Monica Gale
Maike Beimler
Carolynn Sander (You Are Here)
Brian King
Cheers & Happy Stamping!
Carolynn 💖


So so sooooo lovely. Great idea.
ReplyDeleteHugs Tanja
What a super cute and brilliant idea Carolynn. Love these so much <3
ReplyDeleteHahaha, perfect solution. Your flowers are amazing!
ReplyDeleteWowza! That a beautiful collection of flowers! Such great ways to use these punches! Thanks for the inspiration, Carolynn!
ReplyDeleteGreat workshop giveaway.
ReplyDeleteWhat an amazing flowers have you made Carolynn, love it!
ReplyDeleteOh I just love what you did with your pens!!
ReplyDelete