

Hi everyone, I hope you are enjoying your week! For those who may be new here, I am a Canadian Stampin' Up! Independent Demonstrator from Calgary, Alberta. Do you know what Paper Tole is? Not Toilet Paper... but Paper Tole! lol Well it is pretty much a technique in which one transforms paper into a 3 dimensional piece of art. I have a tutorial to share with you today that features the "Paper Tole" Technique! It's pretty straightforward, but gives a big W-O-W! I hope you enjoy it! If you do find yourself leaving here intrigued, please leave me a comment today. After all, who doesn't love a full bucket every now and then right? Thank you so much for stopping by. 💖

Stampin’
Up! Supplies Required:
·
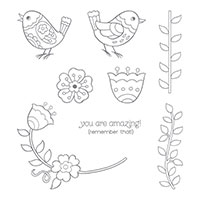
Feathery Friends Hostess Stamp
Set
·
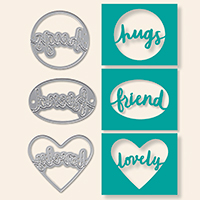
Lovely Words Thinlits Dies
·
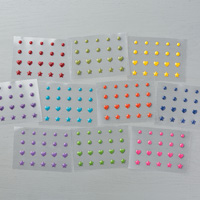
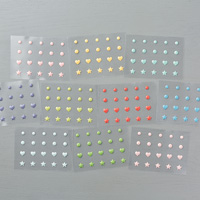
Enamel Shapes in Subtles,
Regals, & Brights
·
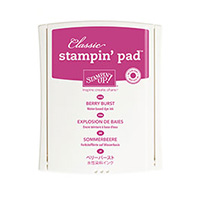
Basic Black Archival Stampin’
Pad
·
Peekaboo Peach, Lemon Lime
Twist, Berry Burst, Pool Party, & Daffodil Delight Classic Stampin' Pads
·
Blender Pens
·
Basic Black 8-1/2" X
11" Cardstock
·
An Exacto Craft Knife & Cutting Mat
·
Big Shot
·
Precision Base Plate
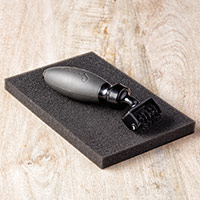
·
Big Shot Die Brush
·
Paper Snips
·
Stampin' Trimmer
·
Multipurpose Liquid Glue
Measurements:
·
The main card base is made of Shimmery White Cardstock. It is your standard card
base & will measure 8 & ½ inches by 5 & ½ inches. You will score & fold it
on the long edge at 4 & ¼ inches.
·
You will require a piece of Shimmery White Cardstock that will measure 5 & ⅛ inch by 3 & ⅞ inches. This will be the
piece that you will stamp your birdies on using the Basic Black Archival
Stampin’ Pad.
·
You will require a piece of Basic Black Cardstock Measuring 4 inches by 5 & ¼
inches. This will be your black mat on the card front.
·
You will also require a few
smaller pieces of Basic Black Cardstock to cut out the “Hugs” sentiment (3
times) using the Lovely Words Thinlits Dies & your Big Shot.
Instructions:
1.
Start out by stamping the
birdies from the Feathery Friends Stamp Set onto the piece of Shimmery White
Cardstock that you have precut.

2. Next you will grab some of your
favourite Stampin’ Up! Ink Pads & your Blender Pens to colour in those
birds oh so beautifully. Here are the colours I chose!


3. Once you are finished colouring
your feathered friends, you will want to grab your Exacto Craft Knife and cut
around the outer edge of your bird’s wings. Make sure to leave the top of the
wing intact. This will allow you to pop the bird's wing up.

4. Next up is to stamp those
birdies again. This time you will be colouring just the wings. You will then
cut out those colourful wings, and slip them under the popped up wings for
extra dimension! Check out the photos below and you will see what I’m talk’n about.


5. Last step to this process is
decorating your card! FYI, Multipurpose Liquid Glue has become my new favourite
adhesive for assembling my card elements! You can purchase some in my online store if you are interested!


Cheers & Happy Stamping!
Carolynn 💖


No comments:
Post a Comment