
Happy Thursday everyone! Welcome to another Creating Kindness around the world blog hop! You are currently visiting Carolynn Sander, in Calgary, Alberta, Canada. If you have been following the hop you would have just arrived here via the talented Danielle Bennenk. The theme for today's hop is "Mixed Media"! I love mixed media, but I have to say that I have only muddled with it a wee bit. It was great to challenge myself with the theme today! I hope you enjoy! As well, remember to click on the next button at the end of this post so that you can follow the entire hop!


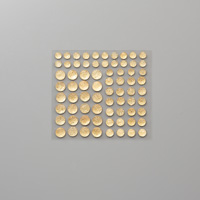
So here it is! My mixed media masterpiece! What I learned throughout this mixed media process is that you really do have to let go! You want your end result to look like a layered, messy, mosaic of fun! Do you think that I achieved that here today? I hope so!

For your convenience and pleasure, I have included a list of all the supplies used for today's project at the end of this post. In addition, I have included an explanation of the process I went about to achieve the look you see here. I unfortunately do not have a video to share today, I may just have to make one in the future.
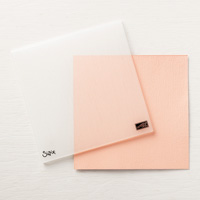
- First take a piece of Stampin' Up! Watercolour Cardstock (cut to size or slightly larger than you would like).
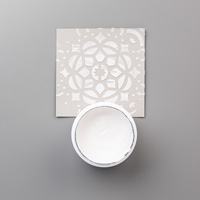
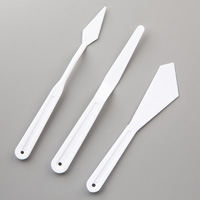
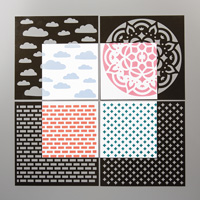
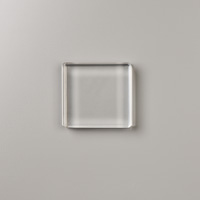
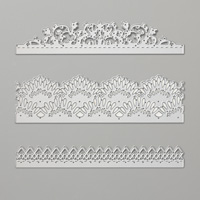
- Place the diamond shaped mask from the Stampin' Up! Pattern Party Decorative Masks over your cardstock, and then apply a coat of Stampin' Up! Embossing Paste on top of it in a random pattern (AKA not perfect) using the Stampin' Up! Palette Knives.
- Helpful Hint: I like to place my Stampin' Up! Silicone Craft Sheet under my project for ease of clean up.
- Next I take your Stampin' Spritzer and spray a light mist of water over the entire project.
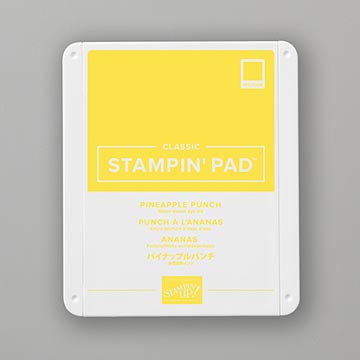
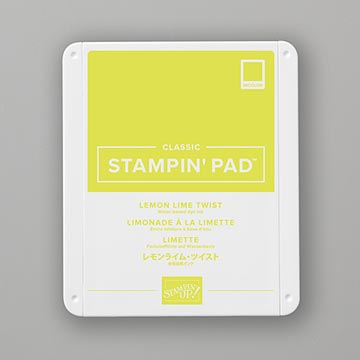
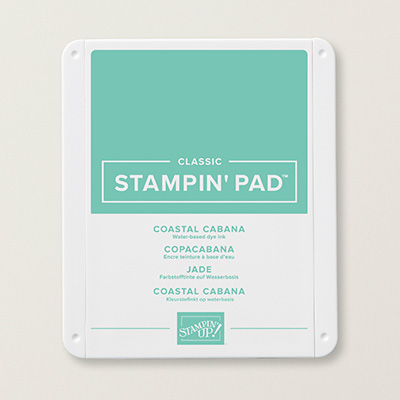
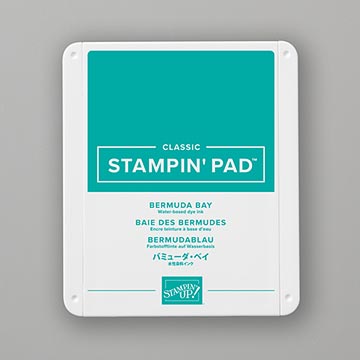
- Then take your Aqua Painter and apply a few of your favourite Stampin' Up! inks throughout. The colours I chose were: Pineapple Punch; Lemon Lime Twist; Coastal Cabana; & Bermuda Bay.
- Helpful Hint: Allow the colours to run together along the edges in which they meet. You will get that nice melded look that you see here.
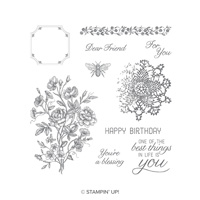
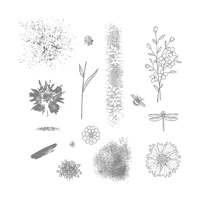
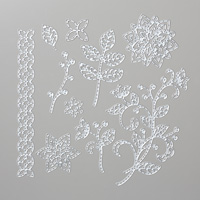
- Then take the doily stamp from the new Stampin' Up! Very Vintage Hostess stamp set and randomly stamp it over your project in Jet Black Stazon ink.
- Helpful Hint: You can stamp with Jet Black Stazon Ink on any surface. But beware it is VERY permanent.
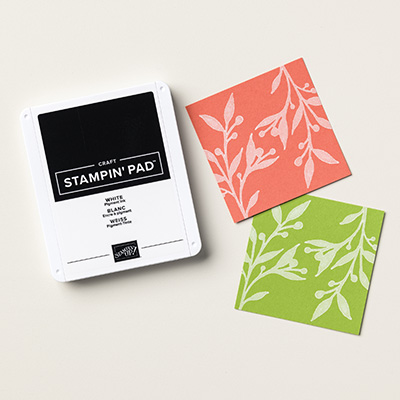
- Next step is to take the speckled stamp from the Stampin' Up! Touches Of Texture stamp set, and stamp it randomly over your project using Stampn' Up! Whisper White Craft Ink.
- Then take a piece of white tissue paper. Stamp & emboss it with the bee from the Stampin' Up! Very Vintage stamp set using Versamark Ink and Gold Stampin' Emboss Powder.
- Apply this little bee to your project using a foam brush & some good old modge podge (or a similar adhesive).
- While your project is still a bit tacky from all of the ink above, sprinkle some gold embossing powder all over your project randomly in different areas. Then heat it up. This adds some more bling, more texture, and more messy layers.
- Lastly take your wink of Stella and add some BIG splatters all over. This adds to the fun metallic look!
- That is about it for this tricky background! If you have any questions in regards to the rest of this project feel free to let me know. You can comment below, or shoot me an email. 💖

So what did you think of today's project? I hope it inspires you to get messy with your creativity! Next up in the hop is Jenny Hall! She is an amazing person in so many ways. I truly heart her.💖 I can't wait to see what she has to share with us today! Click on the next button below so that you don't miss out!

Thank you so very much for visiting today! I am always so thrilled to have you! If you have any questions in regards to today's project feel free to message me, or leave a comment below! As well, if you are from Canada and you are interested in purchasing products from my Stampin' Up! online store just click on the "Shop" icon below!
Cheers & Happy Stamping!
Carolynn 💖


It's a beauty Carolynn! The colors you've used are some of my favorites. And, I like the use of the subtle heat embossing.
ReplyDeleteWow i love it !!! Very beautiful
ReplyDeleteYes Maam, you did it. Gorgeous, Carolynn! I really admire how you consistently achieve intense color and depth in your projects while making it appealing to everyone. It's your skills, to be certain!
ReplyDeleteYum ... delicious Carolynn. You have certainly "let go" enough and mastered the art of Mixed Media. Gorgeous! xxx
ReplyDeleteLove your project! It's definitely Mixed Media, wow!
ReplyDeleteLove your card, Carolynn. You definitely did a Mixed Media project, wow!!
ReplyDeleteWow Carolynn. This is superb! The more I stared at it, the more details I saw. Love the little gold embossed flecks throughout!
ReplyDeleteNailed it! Beautifully done Carolynn
ReplyDeleteCarolynn, Wow! This card is so beautiful lovely job with mixed media. Also the colors have such depth, really really like it.
ReplyDelete