


Stampin’ Up! Supplies Required:
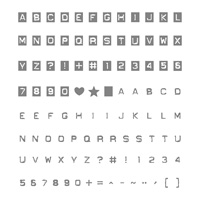
- Labeler Alphabet Photopolymer Stamp Set & Coordinating Clear Blocks
- Bookcase Builder Photopolymer Stamp Set & Coordinating Clear Blocks
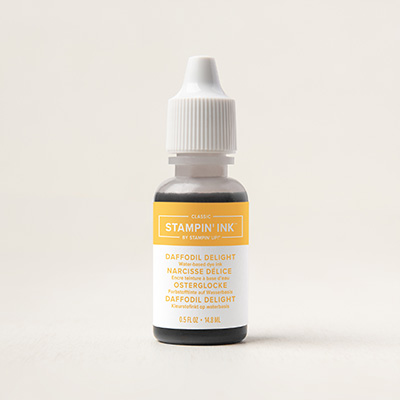
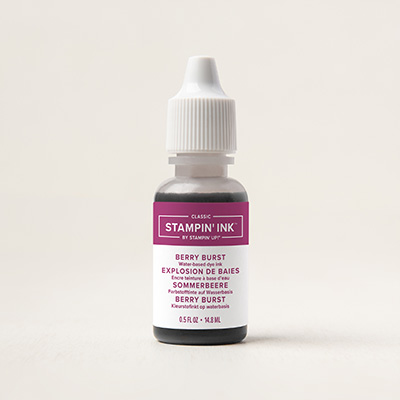
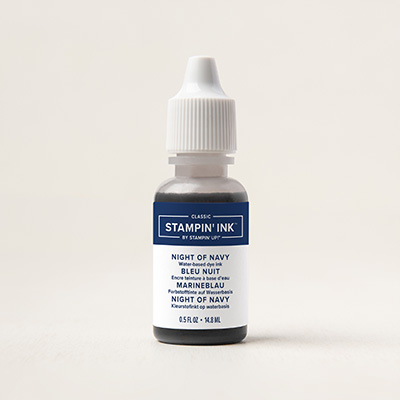
- Daffodil Delight, Peekaboo Peach, Rich Razzleberry, Berry Burst, Bermuda Bay, Dapper Denim, & Night of Navy Classic Stampin' Ink Refills
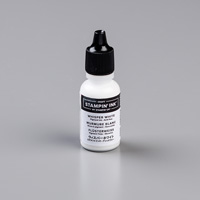
- Whisper White Craft Stampin' Ink Refill
- Whisper White, Night of Navy, & Berry Burst Cardstock
- Vellum 8-1/2" X 11" Cardstock
- Watercolor Paper
- Embossing Buddy
- Versamark Pad
- White Stampin' Emboss Powder
- Heat Tool
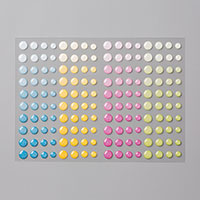
- Glitter Enamel Dots
- Whisper White Solid Baker's Twine
- Stitched Shapes Framelits Dies
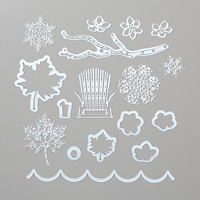
- Seasonal Layers Thinlits Dies
- Stampin’ Up! Big Shot
- Any Old Toothbrush
- A Cheap Paintbrush
Measurements:
- The main card base is Night of Navy. It is your standard card base and will measure 8 & ½ inches by 5 & ½ inches. You will score & fold it on the long edge at 4 & ¼ inches.
- You will require a piece of Whisper White cardstock that will measure 5 & ¼ inches by 3 & ¼ inches. This will be the base that will lay behind your galaxy watercolor masterpiece.
- You will require one piece of watercolor cardstock. We will color this using today’s technique 1st and then we will trim it to size (3 & ¼ inches by 5 & ⅛ inches).
- You will also require a piece of Berry Burst Cardstock measuring 5 & ¼ inches by 1 inch. This will make up the scallop border that is peaking out of the bottom layer of your card. Use the Seasonal Layers Thinlets Dies to cut this piece.
- You will need some vellum cardstock, upon which you will stamp & emboss your sentiments. I chose to use the Labeler Alphabet Photopolymer Stamp Set so that I could customize my sentiment. My vellum pieces are ¾ inches in width. The length can of course be sized to fit your customized phrase. I used my paper snips to trim the ends of my vellum, giving them the banner effect.
Instructions:

Step 1:

Step 1:
Take your paint brush & saturate it with water. Then outline (with the watered brush) where you want your image to appear on your watercolor paper, by painting with just the water 1st (see top left image). The next step is to dip your brush in a puddle of ink mixed with water (I used Daffodil Delight). Lay your brush down on the area of the paper that you have pre-traced with the water. Your yellow ink will for the most part blend/ stay within the water puddle.

Step 2:
Allow your ink from step 1 to dry naturally, or use your heat tool to speed up the drying process. Then repeat step 1 multiple times, using other colors of ink mixed with water. I chose to use Daffodil Delight, Peekaboo Peach, Rich Razzleberry, Berry Burst, Bermuda Bay, Dapper Denim, & Night of Navy. Dry your paper in between each color application so that the colors don't bleed together too much. It is okay if the colors bleed together slightly. This technique is truly an art. It will turn out stunning, yet different every time. You will eventually end up with a watercolored picture like the one in the photo below.


Step 3:
The next step will be to layer on more color (as shown in the 4 photos above). To do this you will 1st take your brush moistened with water, and again trace out the area in which you want your ink to go. You will then take your reinker (in the matching color) and directly apply a drop of ink to your water puddle. Allow the color to move around within the water puddle that you have created. You can use your brush to help spread the ink in the desired area as well. Do this for all the colors to add more depth to your piece of art. Remember to allow the paper to dry between colors. The last color you will use here will be Night of Navy. Why? Well because it’s the darkest color in your galaxy.

Step 4:
When you are finished these steps, you will have a piece of watercolored art like the one in the photo below!

Step 5:
Next up is spattering! Yes, spattering ink can be messy! But guess what? The Stampin’ Up! Watercolor Paper fits perfectly in the Paper Pumpkin boxes! Now you have instant spatter protection! As shown in the pictures below, drop some Whisper White Craft ink onto your old toothbrush. I then closed the lid of my box while spattering white ink all over my masterpiece. It works like a charm!


Step 6:
As shown in the photo above, your galaxy is almost complete! The next step is to take that toothbrush of yours and lightly drag the tip of it, in a straight across motion, through the few larger blobs of white ink. Make sure to always move your brush in the same direction. This will create the look of shooting stars!


Step 7:
Voila! Your gorgeous galaxy background is complete! To finish off this card you will simply stamp, die cut, and assemble the rest following the image below as a guide. Or change it up and make it your own! FYI, you can change up the look you achieve with this technique simply by changing the colors. Google the term “Galaxy” and you will discover many images that will inspire a new color palate for today’s technique tutorial alternatives!


I hope you enjoyed today's tutorial! Feel free to email me with any questions you might have! & If you are in Canada please check out my online Stampin' Up! Supply Shop! It's open 24/7!
Happy Stamping!
Carolynn 💖


LOOKS LIKE A FUN TECHNIQUE
ReplyDeleteThank you Di! 💖
Delete