Hello everyone! Welcome to another edition of the Be Inspired Design Team Blog Hop! I am so thrilled to have you here with me today! If you are new here, I am a Canadian Stampin' Up! Demonstrator from Calgary, Alberta. Before I present today's post I have to mention that being a member of this wonderful group continues to bring me immense joy. Our coalition has been sharing in this online world for a few months now & I feel just as elated as I did the first time around! You most likely arrived here via Maike Ulbrich's blog! What did you think of her fave celebration? Wasn't her project astounding? I am constantly in awe with Maike's work!
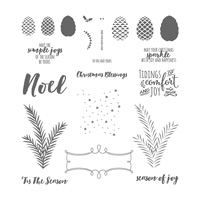
Today's theme is all about our favourite celebration! Regardless of the fact that my fave celebration is a long ways away, I had to be true to my heart & shine the spotlight on Christmas! I cherish the warmth of the season. It truly is what gets me through winter! Therefore, a merry display was in order for me today!
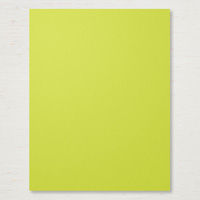
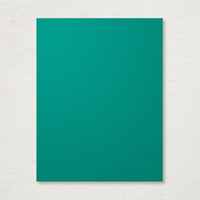
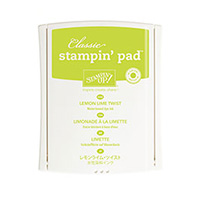
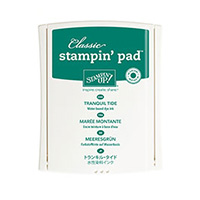
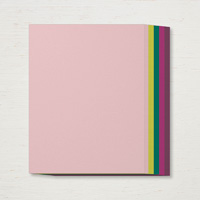
For today's project, I decided to make this Christmas enclave a little more on trend by showcasing the Stampin' Up! 2017-2019 In Colours! Aren't these delightful greens perfect for those Yuletide offerings? All I can say is that I will be decking the halls with Lemon Lime Twist & Tranquil Tide this winter!
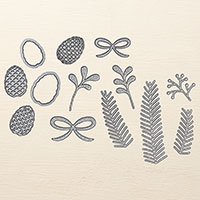
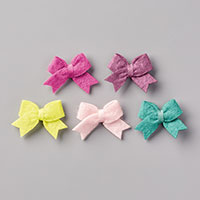
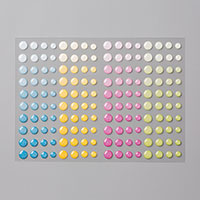
What do you think? Aren't those new coordinating embellishments to die for? These sweet lil bows are the perfect accent for your holiday projects! It may be spring, but who says it's too early to start brainstorming, or better yet even creating, for some of those much needed winter gifts?
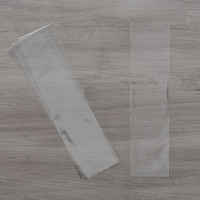
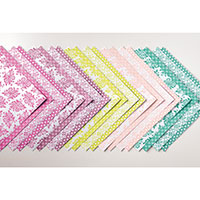
The 2" X 8" Cellophane bags I used for today's project are a Stampin' Up! staple in my house. They are perfect for stuffing a variety of treats. My fave are the Hershey Nugget Chocholates one can purchase here in North America. I wrapped my golden nuggets with some of my fave DSP from the new Stampin' Up! Catalogue. The new catty is to be released to the public June 1st. If you want your hands on this stuff ahead of time you could always sign up to be a Stampin' Up! demonstrator... just saying! The ability to get your hands on some of the newest & hottest Stampin' Up! products is one of the many perks of being a demonstrator. How can you not love it all?
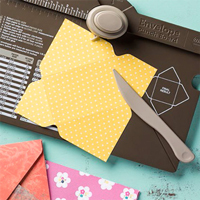
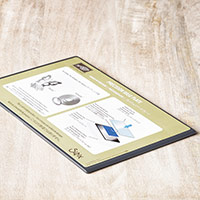
When creating today's ensemble, I truly had teacher gifts in my mind. I always love giving the kids teachers a lil something at Christmas. I figured a lil bag of nuggets just wasn't quite enough to say thanks for all of the work our teachers do, so I came up with the coordinating envelope gift card holders you see above. Aren't they fabulous? These envelopes were super easy to whip up with the Stampin' Up! Envelope Punch Board! If you haven't seen this tool in action just check out the Stampn' Up! video below! There is so much you can do with this tool! The possibilities are endless! I finished my envelopes off with the jolly belly bands you see above. That way there was no need to apply adhesive to the envelope closure. Cool huh?
I hope you leave inspired by today's gifts! Be sure to click the next button below so that you can continue on with today's hop! Kimberly Van Diepen is next up & she is pretty much a creative genius! You will for sure be in love with her masterpiece this week!
Louise Sharp
Allison Okamitsu
Kylie Bertucci
Katy Harrison
Maike Ulbrich
Carolynn Sander - You Are Here
Kimberly Van Diepen
Nadine Hößrich
Sarah Berry
I hope you are having a merry spring day! If you are from Canada & you are in need of some Stampin' Up! supplies I would be thrilled to have you shop with me! Just click on the shop button below & it will take you to my online Stampin' Up! supply shop! It's open 24/7 for your shopping convenience!
Cheers!
Carolynn 💖
Today's theme is all about our favourite celebration! Regardless of the fact that my fave celebration is a long ways away, I had to be true to my heart & shine the spotlight on Christmas! I cherish the warmth of the season. It truly is what gets me through winter! Therefore, a merry display was in order for me today!
For today's project, I decided to make this Christmas enclave a little more on trend by showcasing the Stampin' Up! 2017-2019 In Colours! Aren't these delightful greens perfect for those Yuletide offerings? All I can say is that I will be decking the halls with Lemon Lime Twist & Tranquil Tide this winter!
What do you think? Aren't those new coordinating embellishments to die for? These sweet lil bows are the perfect accent for your holiday projects! It may be spring, but who says it's too early to start brainstorming, or better yet even creating, for some of those much needed winter gifts?
The 2" X 8" Cellophane bags I used for today's project are a Stampin' Up! staple in my house. They are perfect for stuffing a variety of treats. My fave are the Hershey Nugget Chocholates one can purchase here in North America. I wrapped my golden nuggets with some of my fave DSP from the new Stampin' Up! Catalogue. The new catty is to be released to the public June 1st. If you want your hands on this stuff ahead of time you could always sign up to be a Stampin' Up! demonstrator... just saying! The ability to get your hands on some of the newest & hottest Stampin' Up! products is one of the many perks of being a demonstrator. How can you not love it all?
I hope you leave inspired by today's gifts! Be sure to click the next button below so that you can continue on with today's hop! Kimberly Van Diepen is next up & she is pretty much a creative genius! You will for sure be in love with her masterpiece this week!
Louise Sharp
Allison Okamitsu
Kylie Bertucci
Katy Harrison
Maike Ulbrich
Carolynn Sander - You Are Here
Kimberly Van Diepen
Nadine Hößrich
Sarah Berry
I hope you are having a merry spring day! If you are from Canada & you are in need of some Stampin' Up! supplies I would be thrilled to have you shop with me! Just click on the shop button below & it will take you to my online Stampin' Up! supply shop! It's open 24/7 for your shopping convenience!
Cheers!
Carolynn 💖


